NOISE FILTER > REMOVAL |
| 1. REMOVE BACK DOOR TRIM BOARD ASSEMBLY |
 |
Using a moulding remover, disengage the clip and claw.
 |
Using a moulding remover, disengage the clip and claw.
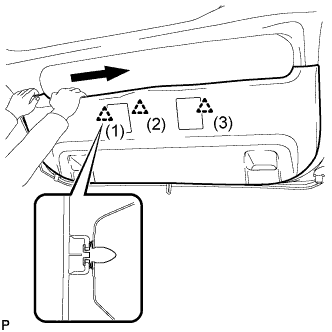 |
Disengage the 3 clips in the order shown in the illustration.
 |
Disengage the 2 clips by pulling the back door trim board assembly in the direction indicated by the arrows in the illustration.
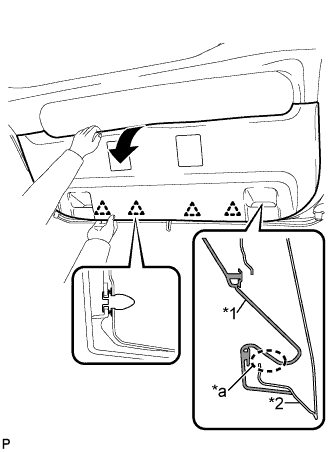 |
Remove the back door trim board assembly by pulling it in the direction indicated by the arrow in the illustration to disengage the 4 clips.
| *1 | Back Door Trim Board Assembly |
| *2 | Back Door Panel |
| *a | The portion that may be damaged due to interference |
| 2. REMOVE NOISE FILTER |
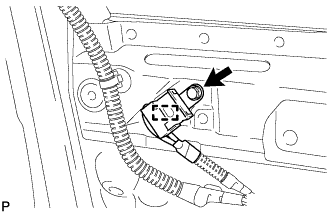 |
Remove the bolt.
Disengage the clamp and disconnect the noise filter with the wire harness from the vehicle body.
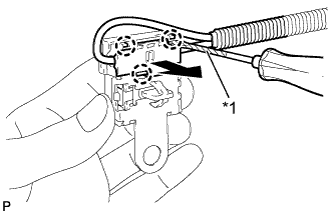 |
Using a screwdriver wrapped with protective tape, disengage the 3 claws and remove the terminal cover with the wire harness from the condenser.
| *1 | Protective Tape |
Using a screwdriver, bend back and break off the claw as shown in the illustration.

Remove the terminal cover from the wire harness.
